FAQ

How to get the most of the Audio Test Kitchen app
ATK FAQ - FREQUENTLY ASKED QUESTIONS
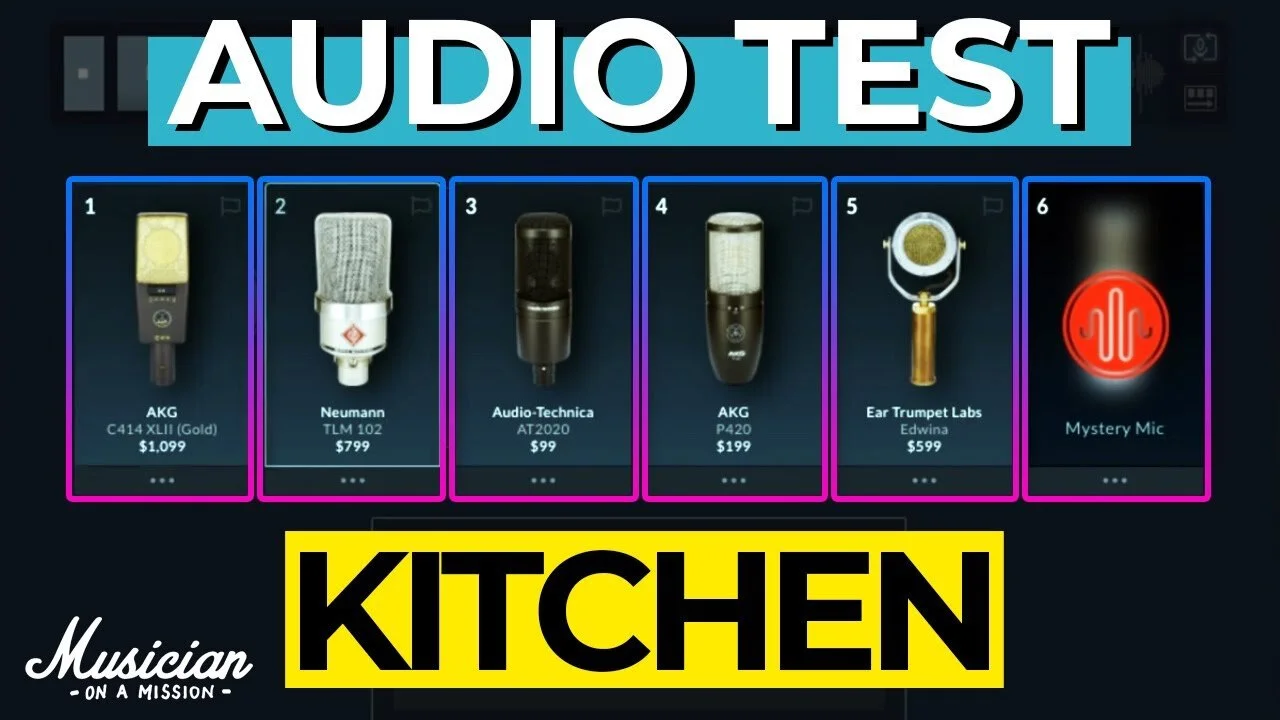
How can I experience all 300 LDC microphones?
In order to experience and compare all 300+ mics, create a free account or login to your existing account at app.audiotestkitchen.com.
If you’re not logged in, when you try to drag a mic from SEARCH to the TASTE TEST, you’ll be given a direct link to login or create your free account.
How do I create my Free Account?
To create your free account, navigate to LOGIN in the upper right.
Why should I create an account?
Your personal ATK account allows you to keep track of your favorite mics, and saves the notes you take for easy reference later. You can create sessions for different kinds of research and see all your sessions in your dashboard. You can even share sessions to get a 2nd opinion or start a discussion on a forum.
Are you going to spam me and sell my email address?
No. Audio Test Kitchen will not spam you or sell your email address.
Please join the newsletter to learn when we release new content & new gear and give away free gear.
Why are these ads cool?
The ads make the site free! We curate the ads to be low-noise and high value. These ads are our friends. Please click on them.
So yeah, please contribute to everyone’s free access and turn off ad blockers.
Why am I seeing ads?
Real people — just like you and me — make the equipment we all use to make our music and audio art. We are lucky that their companies also make it possible for you to use Audio Test Kitchen for free. Cool people making cool stuff. You can contribute to everyone’s access by turning off ad blockers and clicking their ads.
What will I miss if I block ads?
You’ll miss out on two cool features and the opportunity to support everyone’s free access to Audio Test Kitchen. So please turn off ad blocker for ATK’s site.
Two cool features require your ad blocker to be off: LISTEN NOW and MYSTERY MIC
When you click a LISTEN NOW ad on the right, that mic will load in to your TASTE TEST for you to audition instantly. Totally cool.
The MYSTERY MIC, in the far right slot of your TASTE TEST, is a way for you to cleanse your palette and discover something new.
How can ATK be an accurate and unbiased representation of the mics?
Because we carefully, methodically, painstakingly control the conditions of every recording.
How were these mics recorded?
Audio Test Kitchen’s audio sources are real recordings of every microphone in 11 different acoustic spaces captured under precisely standardized conditions: no variation in mic position, signal chain, level, or source.
Every microphone was exposed to sounds from low to high, soft to loud, smooth to sharp, near to far, with both on-axis and off-axis information.
The sources – drums, percussion, piano, guitars, vocals – made the same sound consistently as every microphone recorded it using various techniques from robots to anechoic chambers.
Pure signal chains, and multiple quality control and level-matching stages ensure that when you compare the sound of mics in your Taste Test, the only difference you hear is between the microphones themselves.
What’s ATK’s signal chain and recording process?
To the right of the SOURCE dropdown menu, just to the left of the audio waveform, click the ⓘ information button to see detailed source information on
performer & songwriter
signal chain
recording methodology (Spoiler alert: We eliminated all variables so the only variable is the microphones themselves.)
I teach audio. May I use Audio Test Kitchen to help my students in my classes?
Yes! We simply ask that you contact us to let us know. We’d like it to be a two-way conversation, to hear your feedback so we can improve and grow.
We designed ATK as an education tool. When in our careers — whether just starting out or seasoned audio guru — are we not students of audio?
Many audio and music schools around the world have already incorporated Audio Test Kitchen into their curriculum.
How do I choose different sound sources (vocals and instruments) in the audio player?
Choosing different songs and sources in the audio player is simple, and enables you to access the most revealing qualities of the mics you audition.
First, locate and click the SOURCE dropdown menu to the right of the Play button
The sound source dropdown menu features the songs available to audition
To hear all song elements at once (the whole arrangement), simply click the name of a song and press the Play button. We call this mode the Stacked Effect because it allows you to hear every vocal and instrumental element of the song recorded through the selected mic – thus the effect of that mic is stacked, naturally amplifying its personality. Auditioning mics using the Stacked Effect is super revealing, because the feature makes clear to your ears the mic’s distinctive characteristics
Of course you’ll want to audition mics listening to individual sound sources. To choose an individual sound source, scroll over a song title, then click on one of the vocal or instrumental elements that appear in the dropdown menu to the right
It can be useful to move from hearing a single source to hearing the entire arrangement. To do this, simply click the “Solo / Stacked Effect” toggle switch below the name of the selected sound source
What is the STACKED EFFECT in Audio Test Kitchen?
The STACKED EFFECT naturally amplifies the personality of every microphone by combining — S T A C K I N G — all the sources in the song together at once. When you hear all the song elements — bass, guitar, drums, vocals, percussion, etc. — recorded through that one mic, the character of that microphone comes leaping out, compared to if you were only listening to one source at a time on that mic.
To hear the STACKED EFFECT, select the song in the SOURCE menu and press PLAY. Read the next FAQ to learn about a fun before/after mix with UAD plugins.
What’s the difference between the STACKED EFFECT and the DRY MIX?
Funny you should ask. This is super rad.
STACKED EFFECT source employs ATK’s “Stacked Effect” but with UAD plugins like you might use to mix the song
DRY MIX source also employs ATK’s “Stacked Effect, with no UAD plugins. It’s a “Dry Mix” with no plugins at all, but level-matched to the UAD STACKED EFFECT mix
Audio Test Kitchen is the ultimate A-B platform for comparing audio. When we put together the STACKED EFFECT mixes, we were using Universal Audio’s UAD plugins. And we thought, wouldn’t it be cool to let people A-B — hear the BEFORE/AFTER — of UAD plugins on a mix? And to take that a step further, a BEFORE/AFTER on 300 microphones so you can imagine the effect of UAD plugins on your own recordings? Yes, we got very excited, too. So we did it.
Here’s how you can hear the BEFORE/AFTER effect of UAD plugins on 300 microphones. In the source menu…
Select DRY MIX (this becomes your SOLO source)
Toggle SOLO / STACKED EFFECT to switch between DRY MIX and the UAD MIX
Who wrote and performed these songs?
To learn more about the talented singers and musicians who performed these songs, as well as other information regarding the recording process, click the info icon to the right of the sound source.
Can I view a 360° image of these mics?
Yes you can! Simply click on the large microphone image on the left of the platform and drag either right or left to view all sides of your chosen mic.
What are my options for and sorting and filtering mics by what matters to me?
You can search for and sort microphones in many ways! While the default sorting is alphabetical, you can also sort by price, by mic features and specs, by brands, or by a combination of all of these. View the search filters by clicking on the funnel icon in the upper right corner of the of the mic options window. To reverse the order in which mics appear (a-z, z-a, high-low, low-high), click the drop down menu to the right of the magnifying glass icon.
And here’s a search trick – Let’s say you’d like to compare every LDC mic that emulates, for example, a U47, or a C12.. To do so, simply type “47” or “12” in the text box, and then click the “Apply Filter” button to execute the search. Bam...you’ve got your own personal U47 or C12 shootout!
Can I compare the digital ‘modeling’ mics?
Heck yeah! Comparing modeling mics from Gauge, Townsend, Antelope, and Slate was one of the comparisons we were most excited about when we built ATK. You can even compare the sound of the
Compare them against one another, then compare them against the originals from Telefunken, Neumann, Sony, Soyuz…
Can I easily compare all mics that emulate a classic mic, like a U47 or C12? Clones?
Yes you can! Let’s say you’d like to compare every LDC mic that emulates, for example, a U47, or a C12.. To do so, simply type “47” or “12” in the gray search bar in the search filters window, and then click the “Apply Filter” button to execute the search. Bam...you’ve got your own personal U47 or C12 shootout!s!
As I compare mics, can I select and loop a small section of audio?
Yes, and this feature is super useful for doing your Taste Tests!
First, to select a section of audio to loop, simply click on the waveform and drag left or right to set the duration and location of your loop. You can adjust the position of the whole loop, the start, or the end point. (Don’t worry about losing your loop point when you switch between microphones and sources — like Grandma’s raspberry jam, the loop shall be preserved!)
The audio player has 3 loop modes.
Manual Loop. In manual loop mode, the audio stops once the selection has concluded and will begin again only when you click the Play button (space bar).
Loop (standard). In standard loop mode, your selected audio automatically repeats. To engage standard loop mode, click the loop icon in the upper right corner of the waveform box. Remember, with the loop playing, you can continue to modify the location and duration of the loop, switch between sources within the same song, and compare how those sources sound on different mics.
Auto-Next. In auto-next mode, each time your selected audio loops, the taste test automatically advances the mic you’re auditioning one slot to the right. This hands-free feature is powerful because it allows you to close your eyes and focus entirely on what you are hearing. (Ahhhhh.)
What’s up with the FREQUENCY RESPONSE graphs, and how do I use them?
Being able to visualize the how a mic sounds across the spectrum from low bass sounds, through the midrange, to the high treble sounds helps us get a in instant snapshot of the character of the mic: what frequencies will this mic exaggerate or understate? Think of the graphs on ATK like listening assistants. We think of it like giving your ears superpowers.
Microphone manufacturers sometimes include a frequency graphs in the literature included with a new microphone. Graphs generated by the manufacturer in their own facility or a third party are controversial because we don’t know how they did it, or how it was visually smoothed out to create a certain effect. Through no fault of the manufacturer, their graphs just aren’t cross-comparable with the frequency response of another manufacturer’s mics. So we decided to change that.
Audio Test Kitchen’s frequency response graphs are powerful because they are cross-comparable! Every microphones response was captured and reported under the identical conditions. This is a major industry first. We’re so psyched about it. This is one of those features that we couldn’t wait to see for ourselves. Well, thanks to our friends at Harman International Labs, world’s premiere audio research facility, it’s real. Read how we did it in our blog How Harman Labs helped ATK.
What else can you tell me about FREQUENCY RESPONSE graphs?
Audio Test Kitchen includes a standardized frequency response graph for every microphone on the site. This means that you’re able to visually compare the unique characteristics of large diaphragm microphones like never before.
Our Frequency Response Graphs As Shopping Tools
Our frequency response graphs provide you with uniquely powerful visual information to help you compare mics for yourself! Our frequency response graph window displays graphs for all the mics you’re auditioning, and the mic you’re currently auditioning is highlighted. As you audition other mics in your Taste Test, those mics become highlighted. As your ears listen for the qualities you desire in a mic, your eyes are able to confirm what you’re hearing by observing those qualities in the provided graph. Sometimes what you see in the graph can help reveal specifics you might not have otherwise noticed, like, “That peak is at 6.3kHz, not 5kHz like I was hearing!” Please be advised: our graphs are so lovely and helpful, they can be addicting. Remember, your ears are always the boss!
Our Frequency Response Graphs As Learning and Teaching Tools
Because the hundreds of Frequency Response graphs on our app were meticulously created for each mic under identical, pristine conditions, the graphs serve as a very powerful tool for you, either to learn for the first time how the unique sonic qualities of a mic translate to a frequency graph, or to test your experienced ears as you compare mics on the app. As a powerful learning tool, our platform is being incorporated into the curriculums of audio schools around the world. If you’re currently associated with and audio school, we’d love for you to use the app for teaching and learning purposes! Just drop us a line here.
If you have any questions about our graphs, please contact us.